Backstory
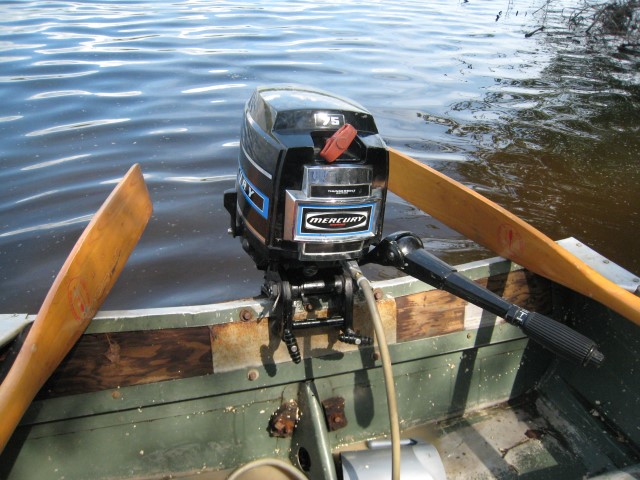
Growing up, I spent a lot of weekends at my Grandparents’ cottage. One of the things that this cottage had, was a small aluminium fishing boat. It wasn’t uncommon for my dad and I to get up early, grab some worms, and head out onto the water for some morning fishing. Even in it’s day, the fishing boat was nothing special. 15ft hull with a 7.5hp Mercury engine meant it wasn’t fast either. Regardless, it made for good times out on the water.
As the years went on, the fishing boat started to see less and less use until about a decade ago, when we stopped using it completely. Last I had heard, the engine had a problem and the hull leaked water. A mechanic had looked at the engine and deemed it unrepairable, due to a broken part that was no longer being produced. The engine sat in the garage at the cottage for years, until a few months ago, I decided ‘what’s the worst that could happen’ and took on the task of fixing it.
Fixing Upping
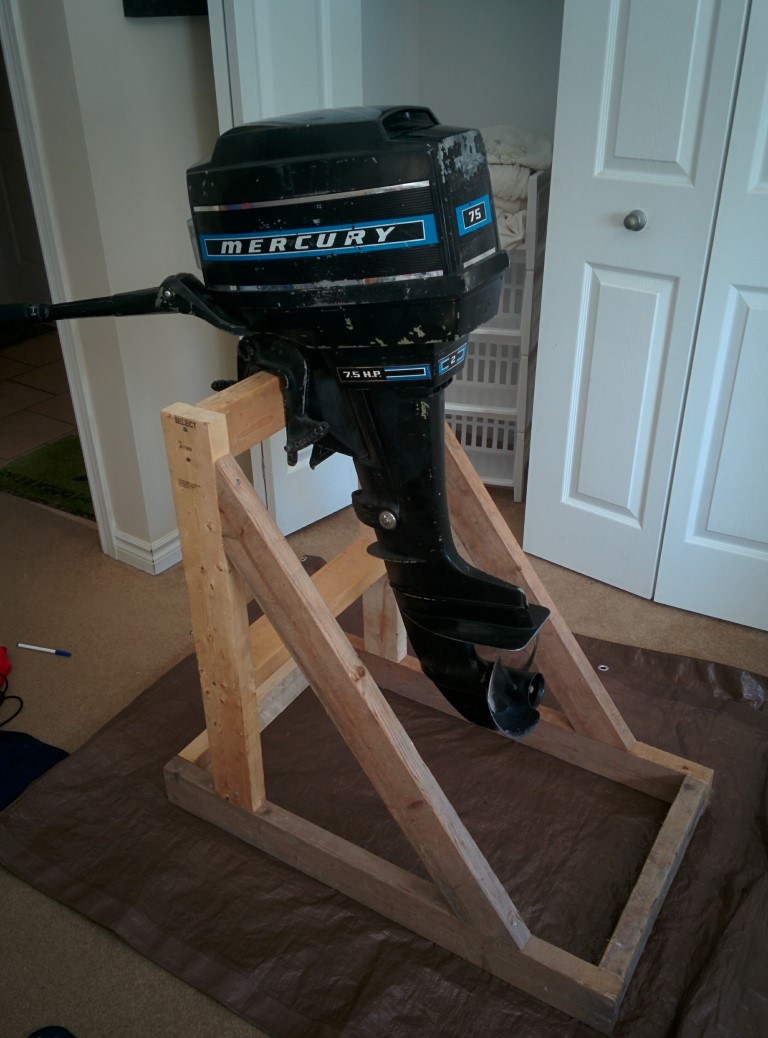
The first job was to build a stand for the engine so I could take it apart and later test it on land. The stand is just a few pieces of 2x4 screwed together and a 3x8 beam to mount the engine on. It’s wide enough that a standard garbage bin can be placed in the center and filled with water. This is crucial for testing as the engine relies on water cooling.
My bedroom was its new home
I had no idea what was wrong with the engine, but the carburetor is a good place to start. The nice thing about the older models is they’re incredibly simple. After taking the cowling off, you can get a sense of how the engine works just by looking at it. Soon enough, the problem emerged. The venturi had broken and was wedged inside the mixing chamber of the carburetor. A venturi acts to increase the velocity of the air entering the carburetor. This allows for better air/fuel mixing, and I assume that without it, the engine could start but would not stay running. A quick google search confirmed that the part was discontinued and no longer in stock anywhere.
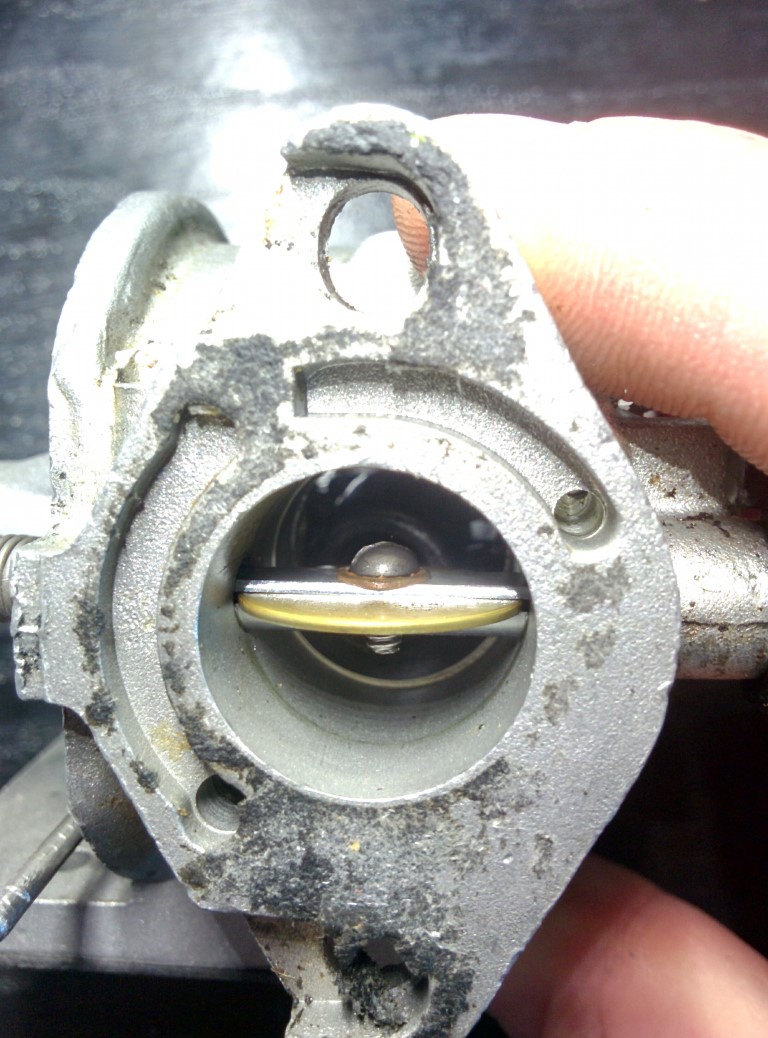
If you look through the throttle body you can see the broken venturi
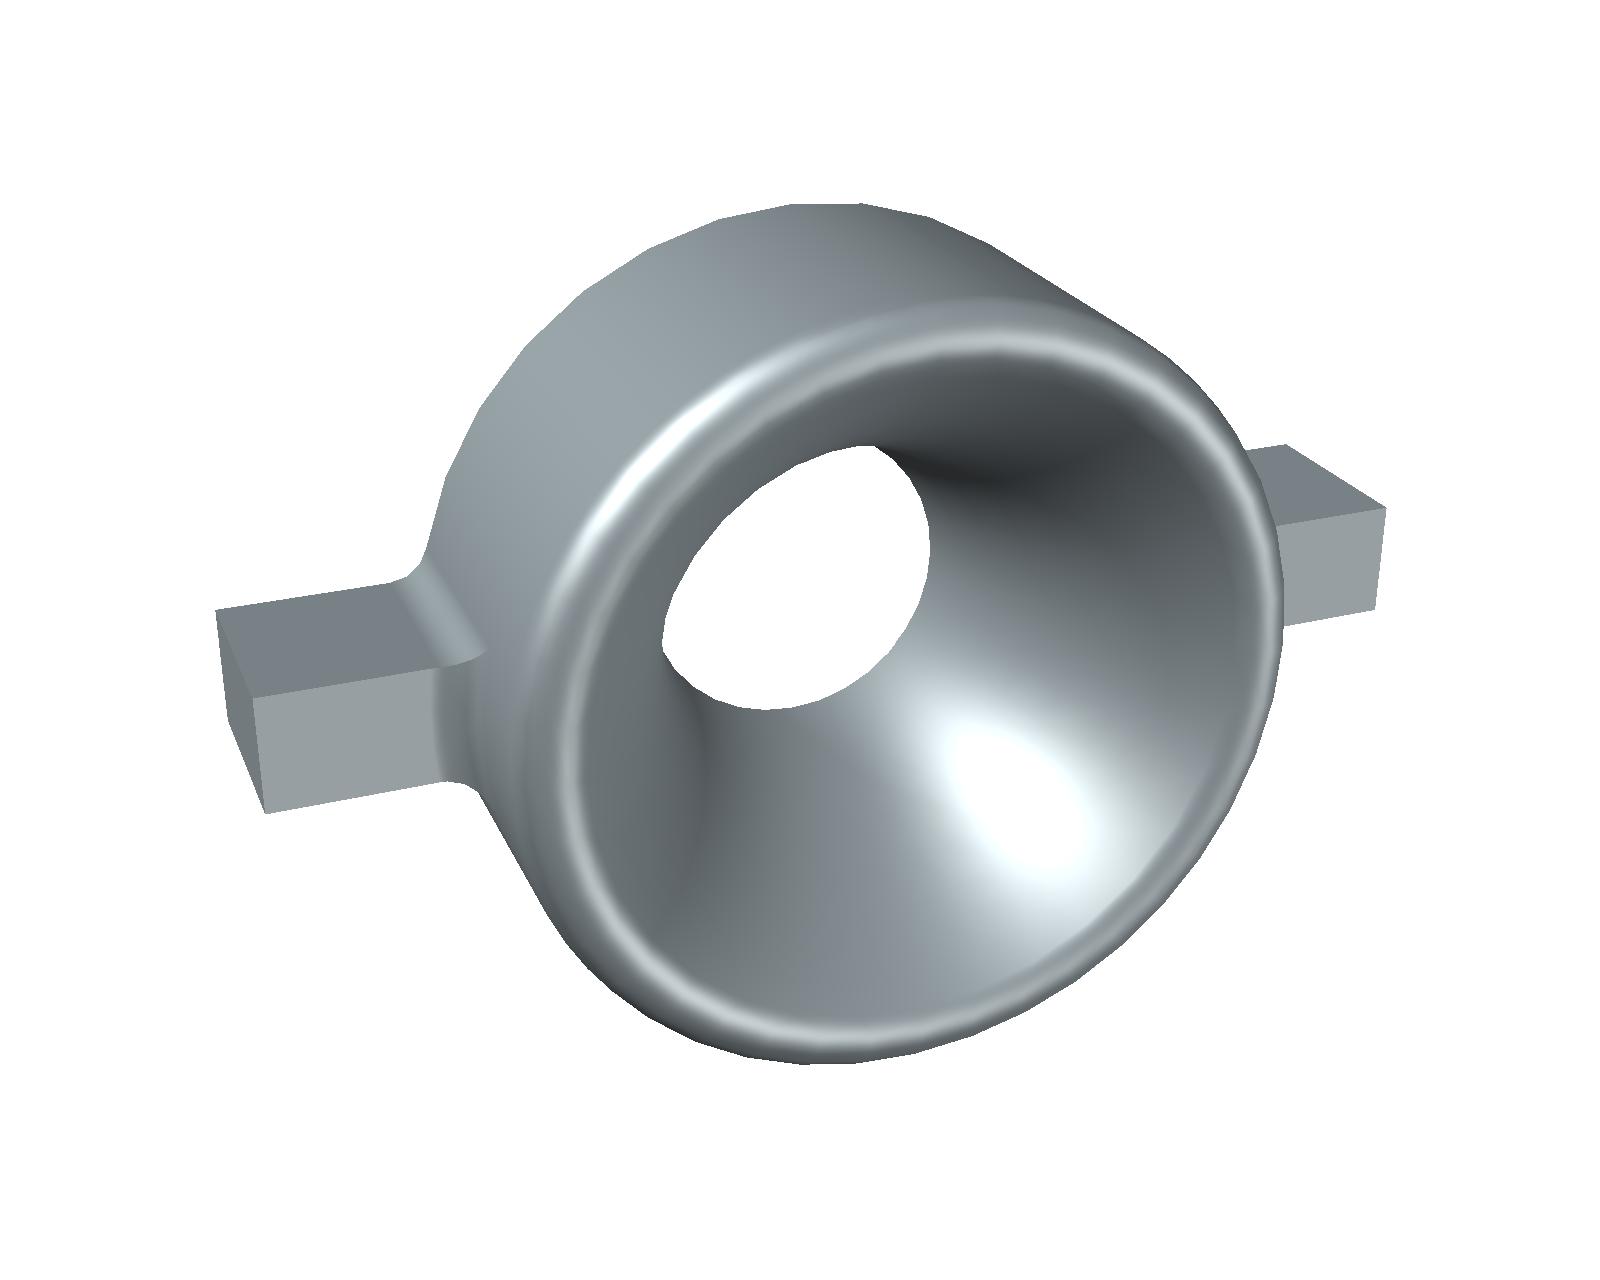
Luckily, the old venturi was plastic. It also sits right at the carb inlet, where cold air entering the carb keeps it from getting too hot. Normally 3D printing would be totally out of question for anything related to an internal combustion engine, but in this case there isn’t really any reason why it shouldn’t work. A replica of the old piece was modelled in AutoCAD, and after a trip to the Library’s 3D printer, I had a new venturi.
Everything was put back together and lugged into the driveway for its first test. Remember, this engine hadn’t been started in over a decade. It took a bit of sweet talking and a can of quick start, but eventually it fired up!
Testing
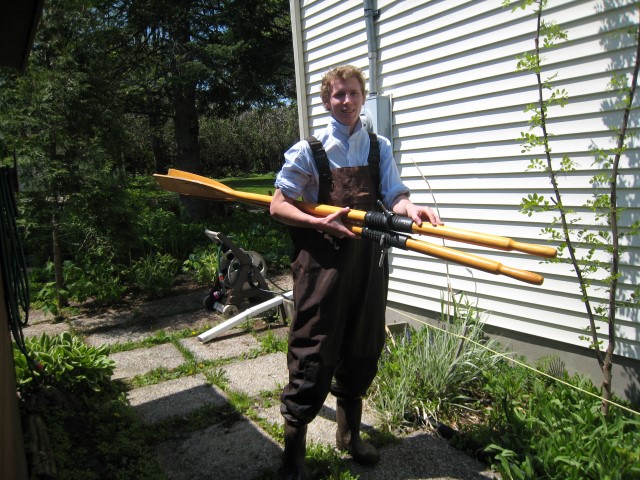
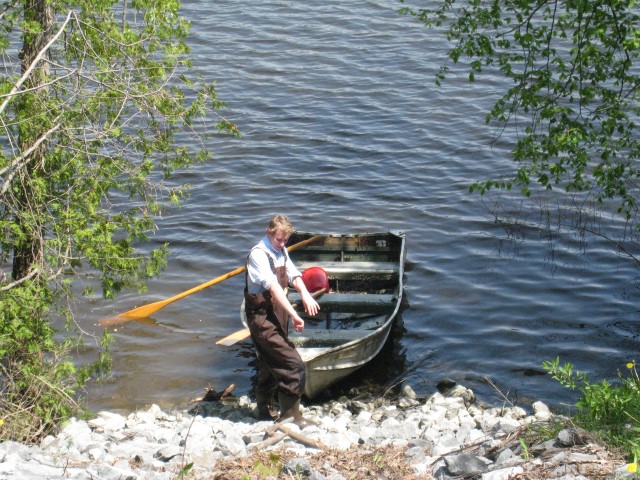
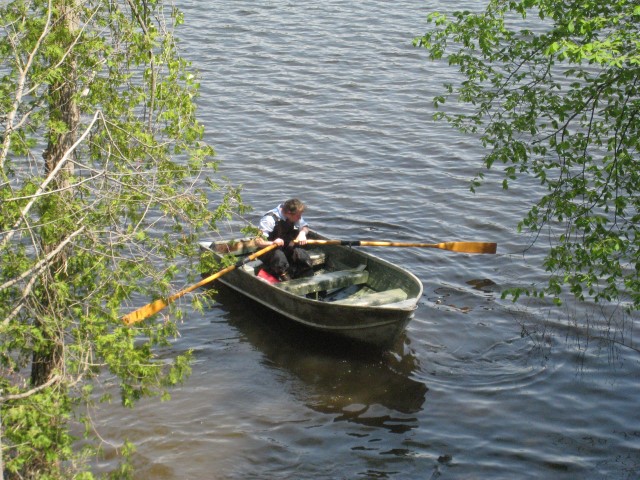
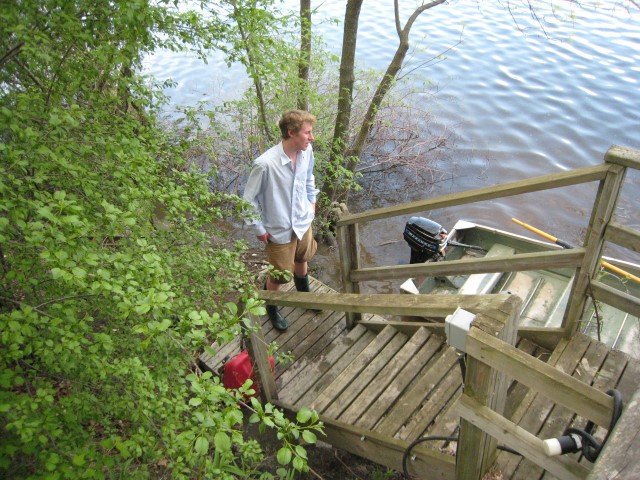
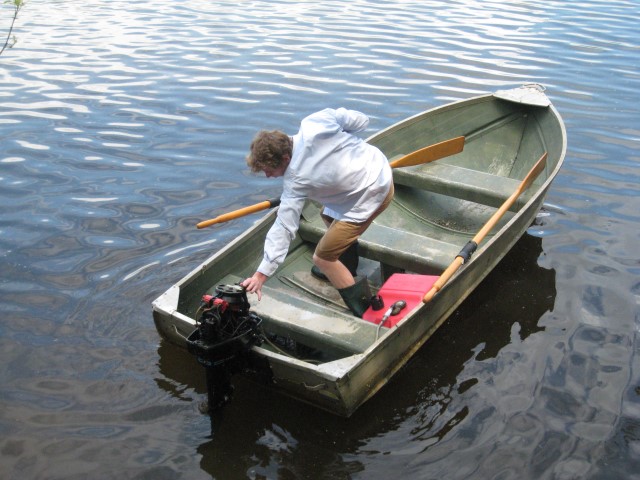
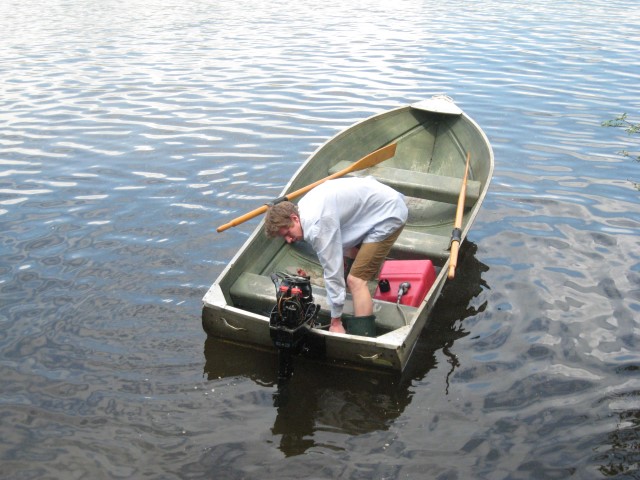
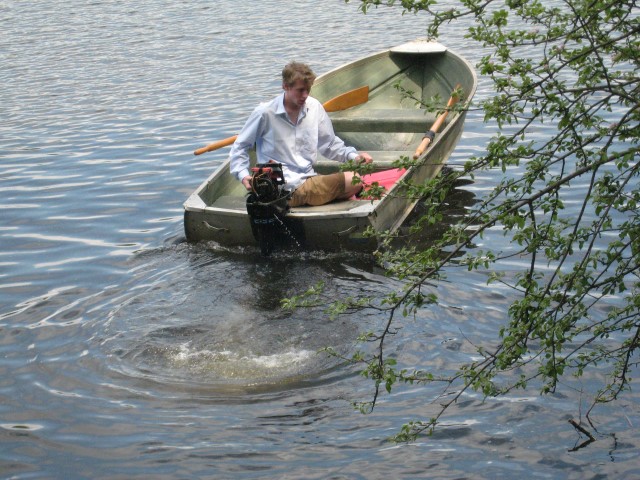
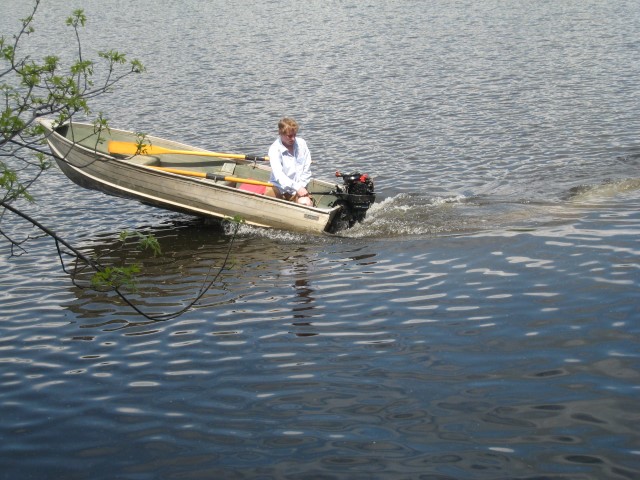
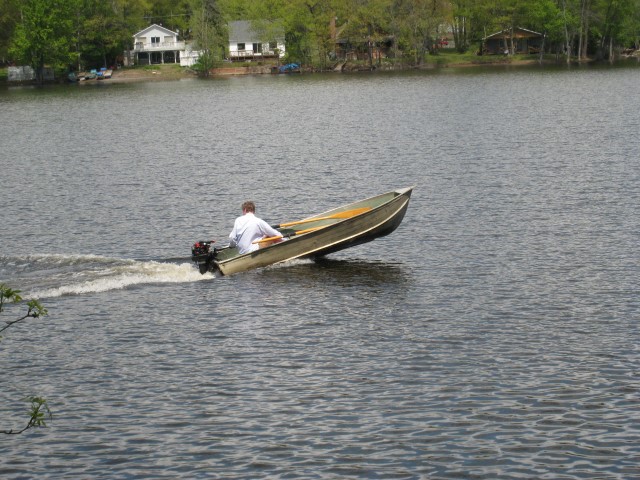
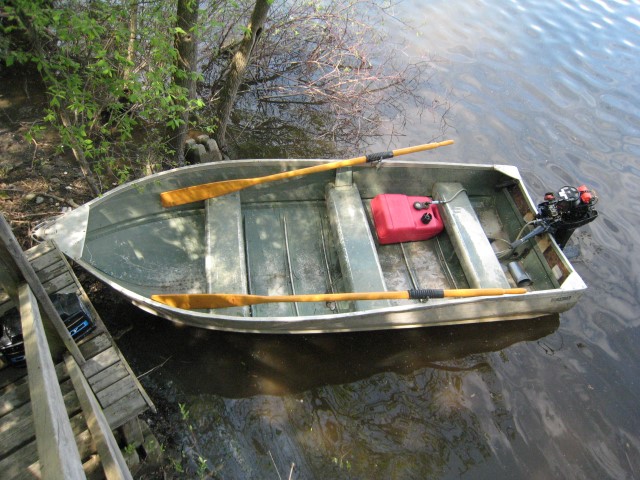
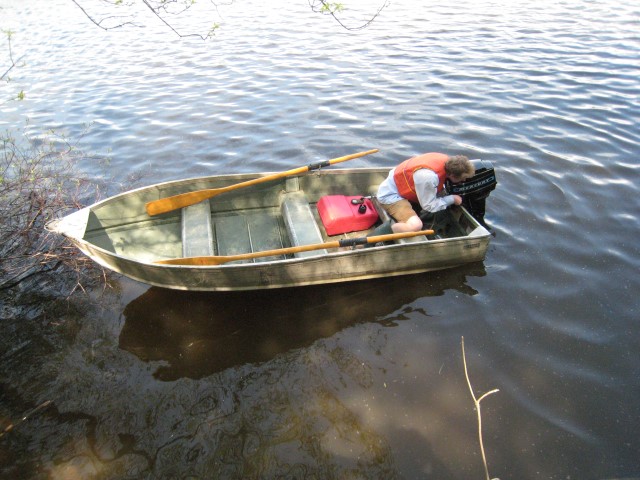
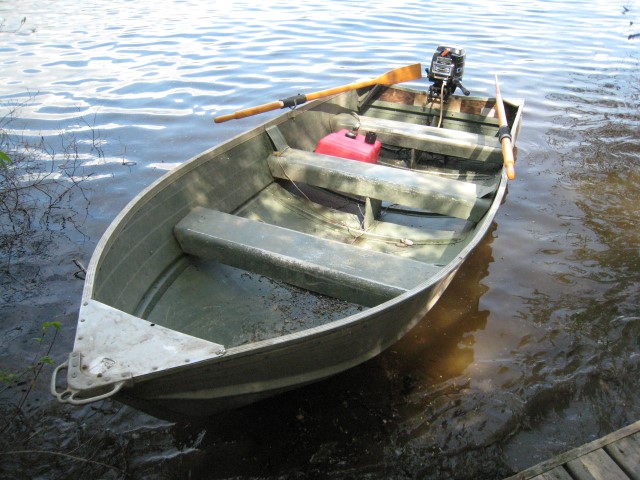
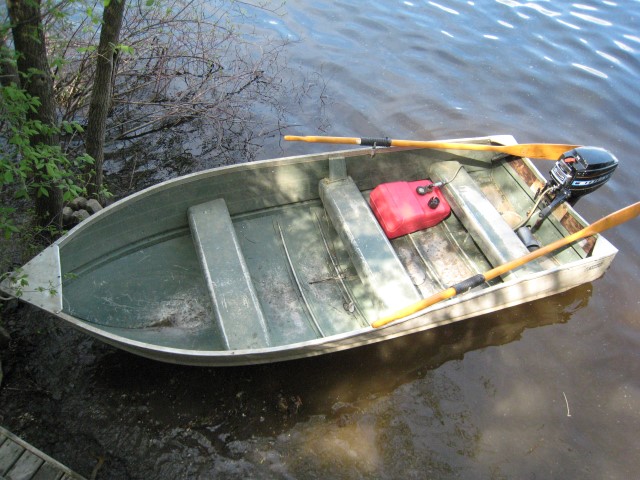
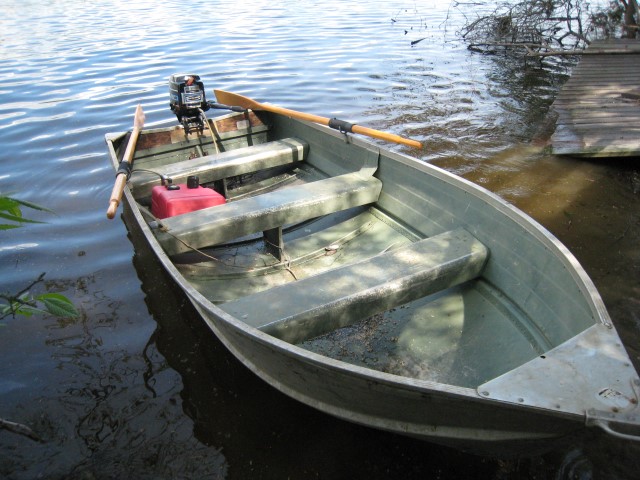
At this point it was the beginning of May and I was hoping to get the boat on the water as soon as possible. The hull was still at my grandparents’ cottage where it had been chained to a tree on the shoreline for years. Unfortunately, the spring melt meant it was still under 5 feet of water. I visited the cottage several times throughout May, hoping to get to the hull. When I could see the tip of it poking out of the water, I got into waders and pulled it out. Amazingly, the hull was not damaged after all these years. Grandpa watched on as I strapped on the engine and proceeded to spend half an hour tring to get it to start. Finally the engine kicked into life and I was able to enjoy a victory boat ride.