A few months ago, I received an older DJI Phantom drone. It had been bought in 2014 and seen very little use since then. As consequence, over the years one of the batteries had slowly discharged to the point where the battery control circuitry didn’t have enough voltage to ‘turn on’ the battery.
Lithium polymer batteries have incredible power density and discharge rates, but it does come at the expense of them being slightly less robost than other battery chemistries. If overcharged or overdischarged, the lithium electrolyte will begin to decompose, releasing lithium and oxygen. The lithium is relatively harmless and will form lithium oxide on either the cathode or anode. The oxygen is a bigger problem because it causes pressure to build inside the cell, resulting in swelling and potentially a fire if it bursts. To prevent this, modern chargers monitor each cell voltage and ensure that no cell goes above its peak voltage. (4.20V for lipo) To protect the cells from over discharging, most electronics will have a cut-off voltage programmed into them, as well as cut off circuitry inside the battery pack. DJI battery packs go a step further, because they have an integrated BMS (battery management system) built into them. This takes care of the individual cell balancing, over charge and over discharge protection, as well as providing battery data such as current, voltage, charge cycles to the phantom’s mainboard over the i2c communication protocol.
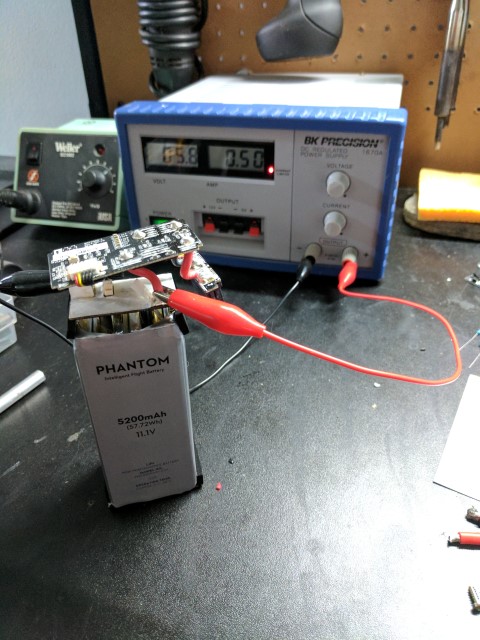
Normally, to charge the battery, you plug in the power supply and the battery’s BMS begins balancing the cells and figuring out how much current to supply. In this case, the voltage was below the minimum safe discharge voltage, so the BMS refuses to charge the cells. The solution is to bypass the BMS and bring the pack back above the minimum voltage, at which point the BMS will recognize the pack and charge it normally.
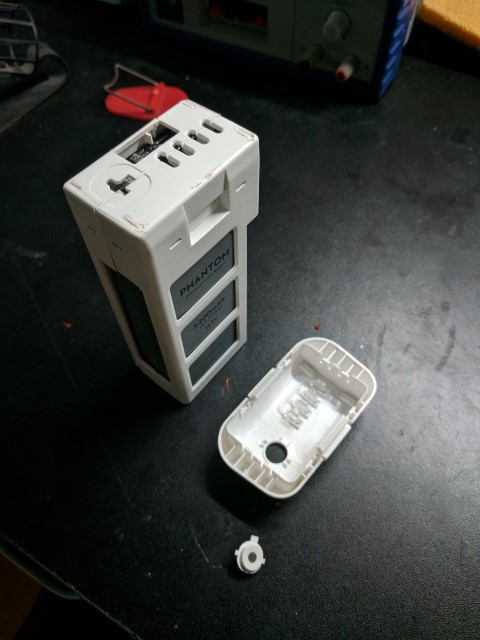
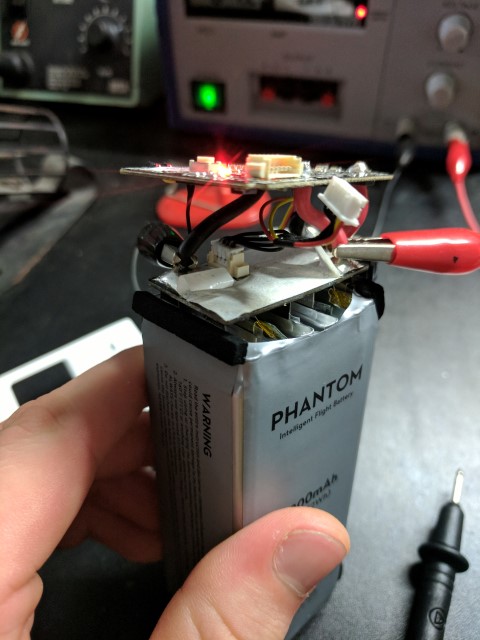
First I took the endcap off, followed by the plastic skeleton which is held together by a series of clips. The plastic is pretty brittle so you just have to take your time and pry as little as possible. With the shell removed, the BMS can be lifted away from the battery. This reveals the battery’s positive and negative leads. Now it’s just a matter of connecting to those leads and applying some voltage. The current will be equal to the voltage difference divided by the battery’s internal resistance. Once voltage is applied, the battery’s voltage will increase rapidly. The nature of lithium cells is that they can hold a relatively constant voltage for 7/8 of their capacity, and then the voltage drops extremely quickly in that last 1/8.
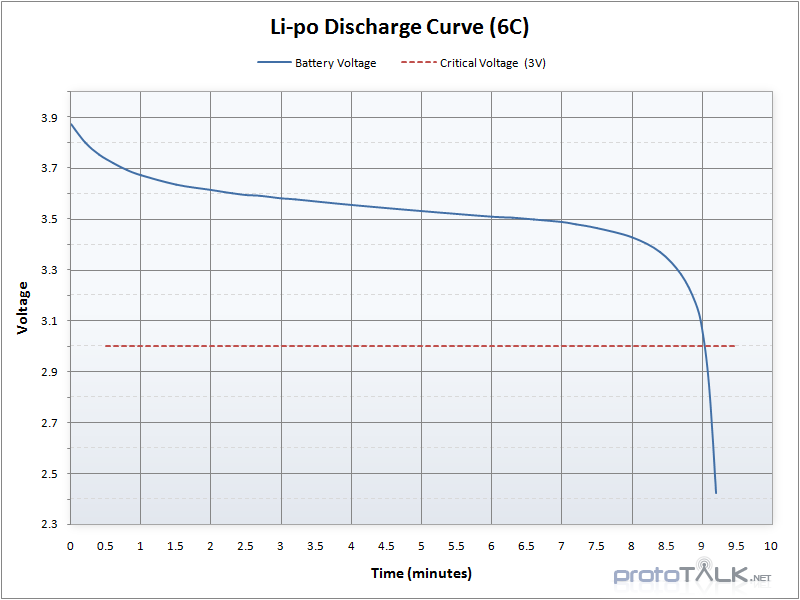
Look at how the voltage drops once it reaches 3.3V
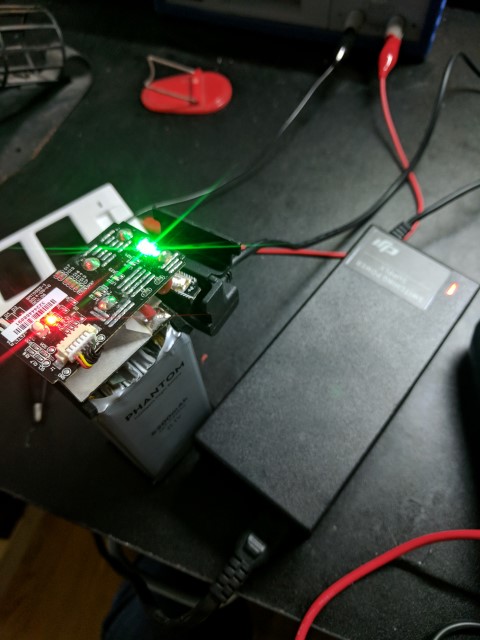
For this reason, I recommend using a variable voltage source or fitting some extra resistors to limit the current. I used a bench power supply with a current limiting function. This allowed me to set the maximum voltage and current, and the applied voltage was continuously varied to always charge at the specified current. Once the battery reached 9V (3v per cell) I unhooked the bench supply and started charging through the normal method. The benefit of doing this is that the BMS will balance the cells and ensure the battery isn’t over charged.