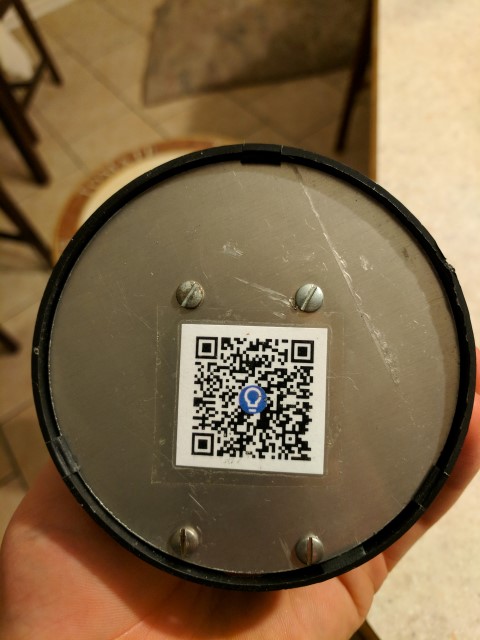
Last week I saw a cheap LED tree thing on clearance at Giant Tiger, and while it looked pretty chintzy, I thought it might have some potential with a few modifications. Taking the bottom off revealed that the circuitry was very simple- just 3 AAA (3 X 1.5V) batteries in series and an 18 ohm resistor. Since the forward voltage of a single white led is around 3.2V, they had to all be in parallel.
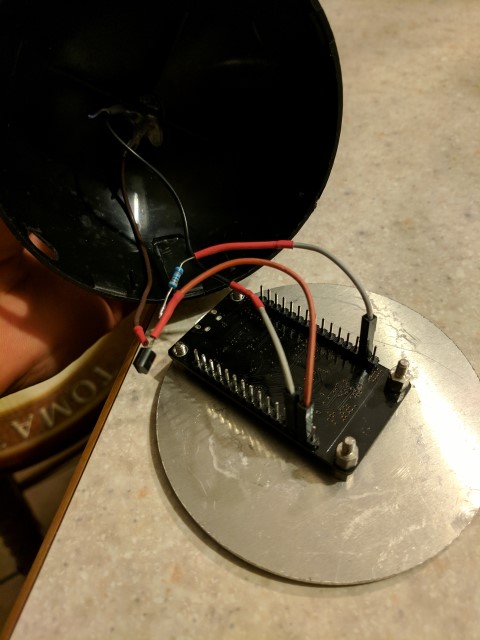
For our 20 led array, this means about 3mA per led. This is surprisingly low and was probably done for the sake of battery life. I’m aiming for 4.5mA per led in my circuit, so 90mA total. I chose an ESP8266 dev board as the brains of this project. It has a convenient micro usb input and 5v passthrough. The leds are connected to a transistor which is controlled by a pin on the microcontroller. Base current was calculated as follows, assuming a current gain (hfe) of 240.
The pins of the ESP8266 can be varied from 0 to 3.3V in 10 bits of resolution, or 1024 steps. For the target 90mA current through the leds, the base of the transistor should be nearing saturation voltage of 0.6V when the pin output is 3.3V. Thus, the base resistor is:
With the circuitry figured out it’s time to move on to the software. Again, the ESP8266 is running Arduino. It listens for http requests and adjusts the leds to either On, Off, Breathe, or Blink accordingly. The brightness of the leds can also be controlled.
A request looks like this: http://{ESP8266_IP_ADDR}/?ledMode=2&brightness=75
The Android app consists of the main ui which allows you to change the led mode and brightness, and a notification listener service that runs in the background and tells the ESP8266 to blink when a new notification arrives.
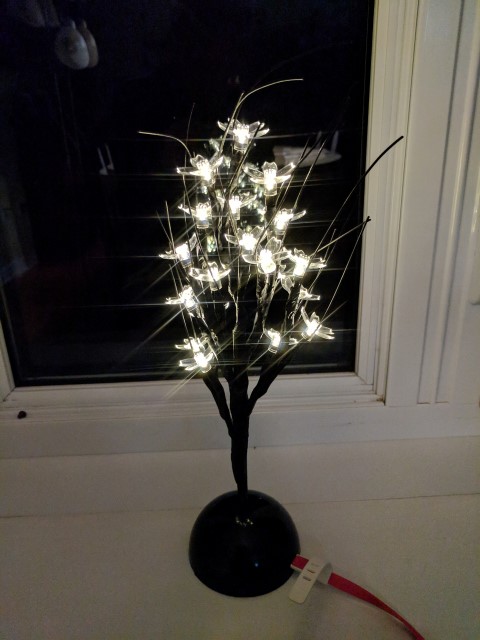
All in all, not a huge project but a satisfying one nonetheless. I built this for my mom’s birthday because she always leaves her phone in her purse, and so far it seems to be working well.
The camera’s changing exposure makes the effect look less pronounced.